Showing posts with label birthday. Show all posts

13 December 2024

Masculine Big Wishes

 Hi everyone, a birthday card for a change, it's for my GNephew, whose birthday it is today. I have been lost with no mojo, I spent a couple of hours trying different things, but got nowhere, but I did have lots of card and inked pieces in the bin. I then decided to case a card of mine, here.

The paper is from a Craft Sensations Paper pad. I cut the letters with my Silhouette  and die cut the candle, colouring the flame only. The cut piece was layered onto black card and attached to the base card. A very simple card, but I think as a masculine card effective. I'm quite pleased with the end result. Isn't it great how just a change of paper makes things look different?

font - Stencil
patterned card - Craft Sensations
candle die - I think it's a Cut and Make mini die
black card - Crafters Companion
 Silhouette

09 March 2023

Birthday

 Hi Everyone, I have been awol, with my comments on your wonderful blogs, I'm trying to keep up, but I just want to let you know, I have a few things going on that require me to concentrate on those. I will try to keep up with my DT work, but other things may slide, my apologies.

Other than that, it's my birthday today and I want you all to have a drink or two or even 3? on me! Well, a virtual drink, that way you won't get too drunk! Have a remarkable day and week. I will see you asap.


 images 2003, courtesy of Laurie Furnell, put together by me.

This was our garden yesterday. It didn't last, but beautiful while it did. 


I thought I would show you a few photos taken earlier in February, a touch of Spring.

Hellebore

Skimmia

Bergenia

Winter flowering Vebena
 
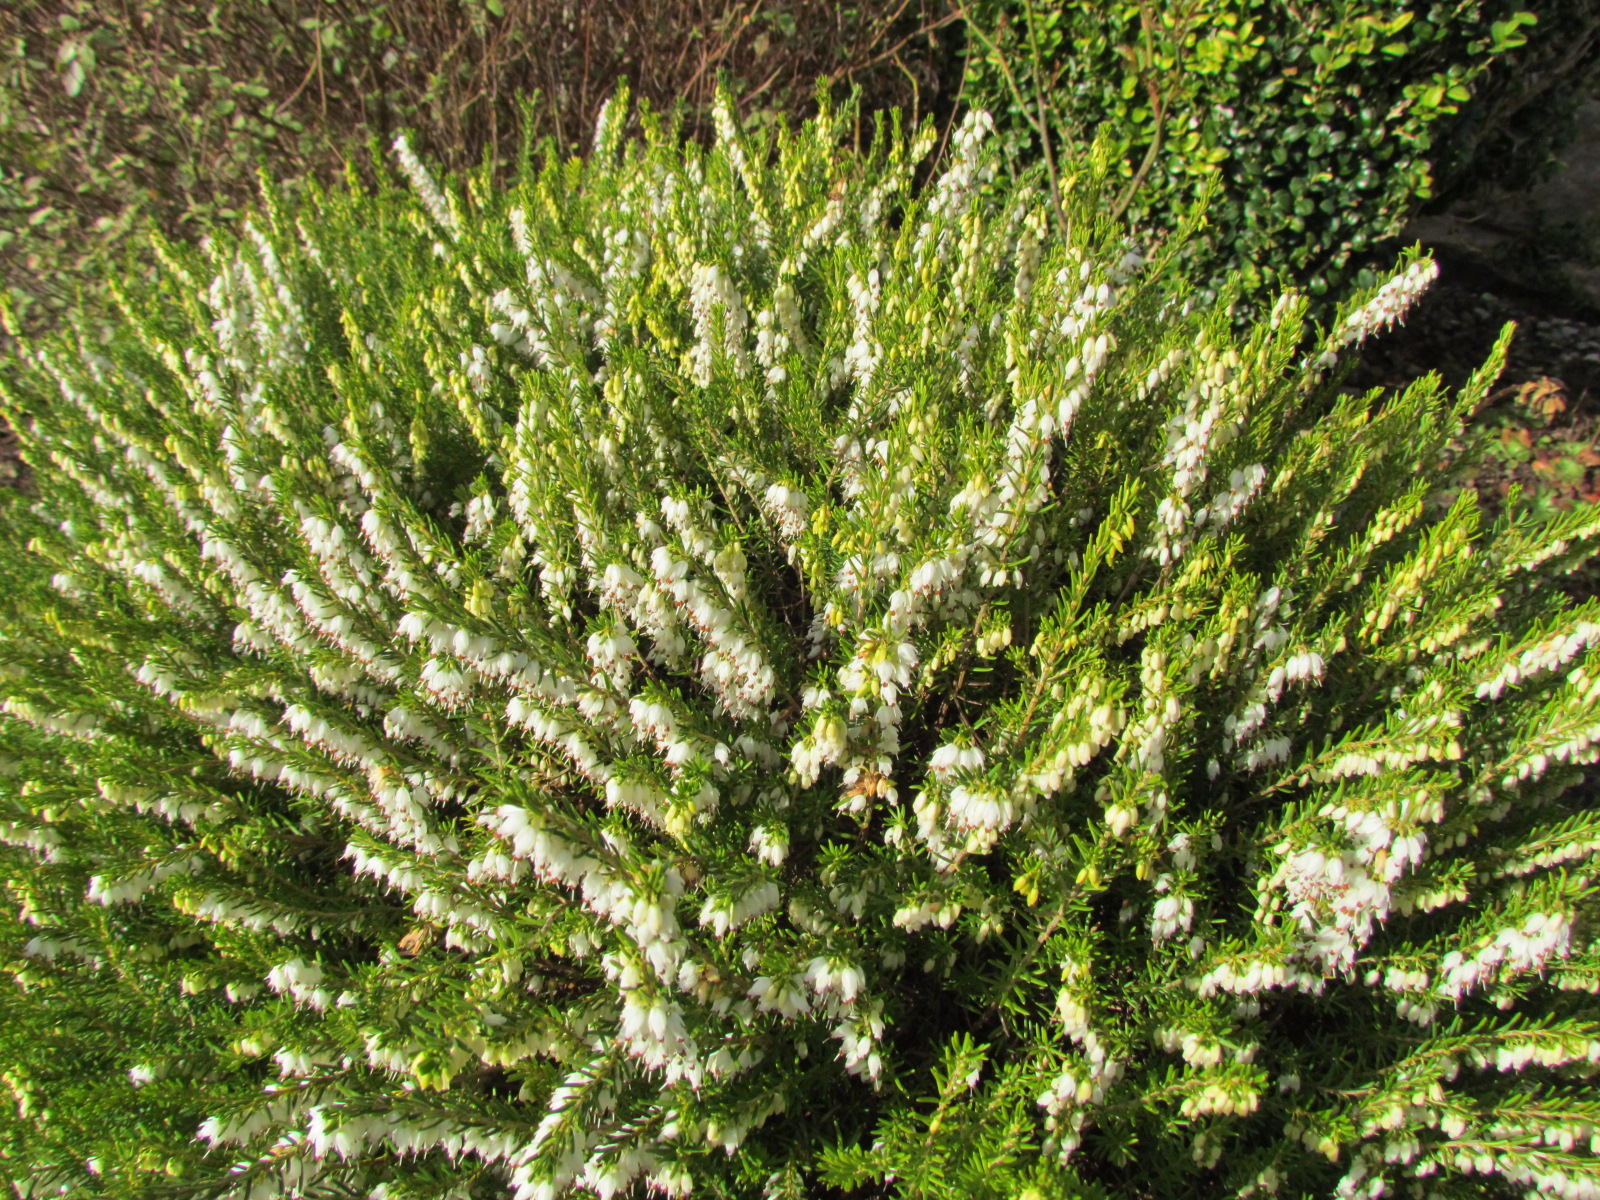
White Winter Heather

even tulips shooting up

Sarcococca shrub


10 April 2022

Roses - but different!

 Hi Everyone, this is a VERY photo heavy post, please just go to what you want to see, don't feel you have to see them all.

My make today started with the Craft Club. I had printed a digital file for the ladies to cut and layer. When I got home I had a call to let me know that another one of the members had a birthday and could I make a card for her. Not being in a card making mood, I took the main image, made it smaller and left out a few images that were included in the digital file. I used my Silhouette to cut around the images and layer them. I Die cut and stamped a sentiment and voila, so to speak, a card was done for her, she isn't attending for a week or two so wouldn't have used the print out.

I then had another phone call later in the evening, to ask me to do a second card for one of the members who had fallen, who again hadn't attended that day and as I had the file in use, I decided to do another, but slightly different as a get well card, they wouldn't see each others cards, so again I print and cut with layers on my Silhouette. What I couldn't get over was the difference in printing colour from one to another, the original club cards and the first card were the same, the second card came out a much darker colour, I liked it so carried on with doing it. Although I had to take a photo of them to show you. I hadn't made any changes to the print settings! I wonder if my printer is telling me something?

card number 1
 
card number 2
 
 
showing them side by side
 
this is the card image and file
 from CraftsUPrint.com
Also used were
stamp and die - Julie Hickey
Silhouette print and cut

  I told you this post is picture heavy, are your ready? Here goes. 
 
For many years the top of the garden has been neglected, it had the old conifers, that had died. After we had the wall put in, we or rather hubby had a lot of digging to do, at 79 this month it hasn't been easy, but at last, this last weekend we were able to buy shrubs, sadly not big ones, we are hoping we'll see them get larger hahaha. They were planted and a new foot path then had to be added to connect to the new planting. This is the process so far and I am thrilled to see it all nearly finished, for me it completes the garden.
 
this is part of the
 BEFORE 
 
the new path in process
 
meeting the new planting of shrubs
 
blocks found under the earth,  placed against the compost heap,
with a small wall erected to hold back the earth.
 
the left side of the garden, showing the veg garden already dug, 
with potatoes, carrots and lettuce already in. The wires ready for the 
Runner Beans and posts for the butterfly netting to protect the carrots from carrot fly.
 
these are HUGE stones that had been found in the garden previously, they were made into a rock garden! A few rock plants needed here, a good excuse to buy more plants!
 
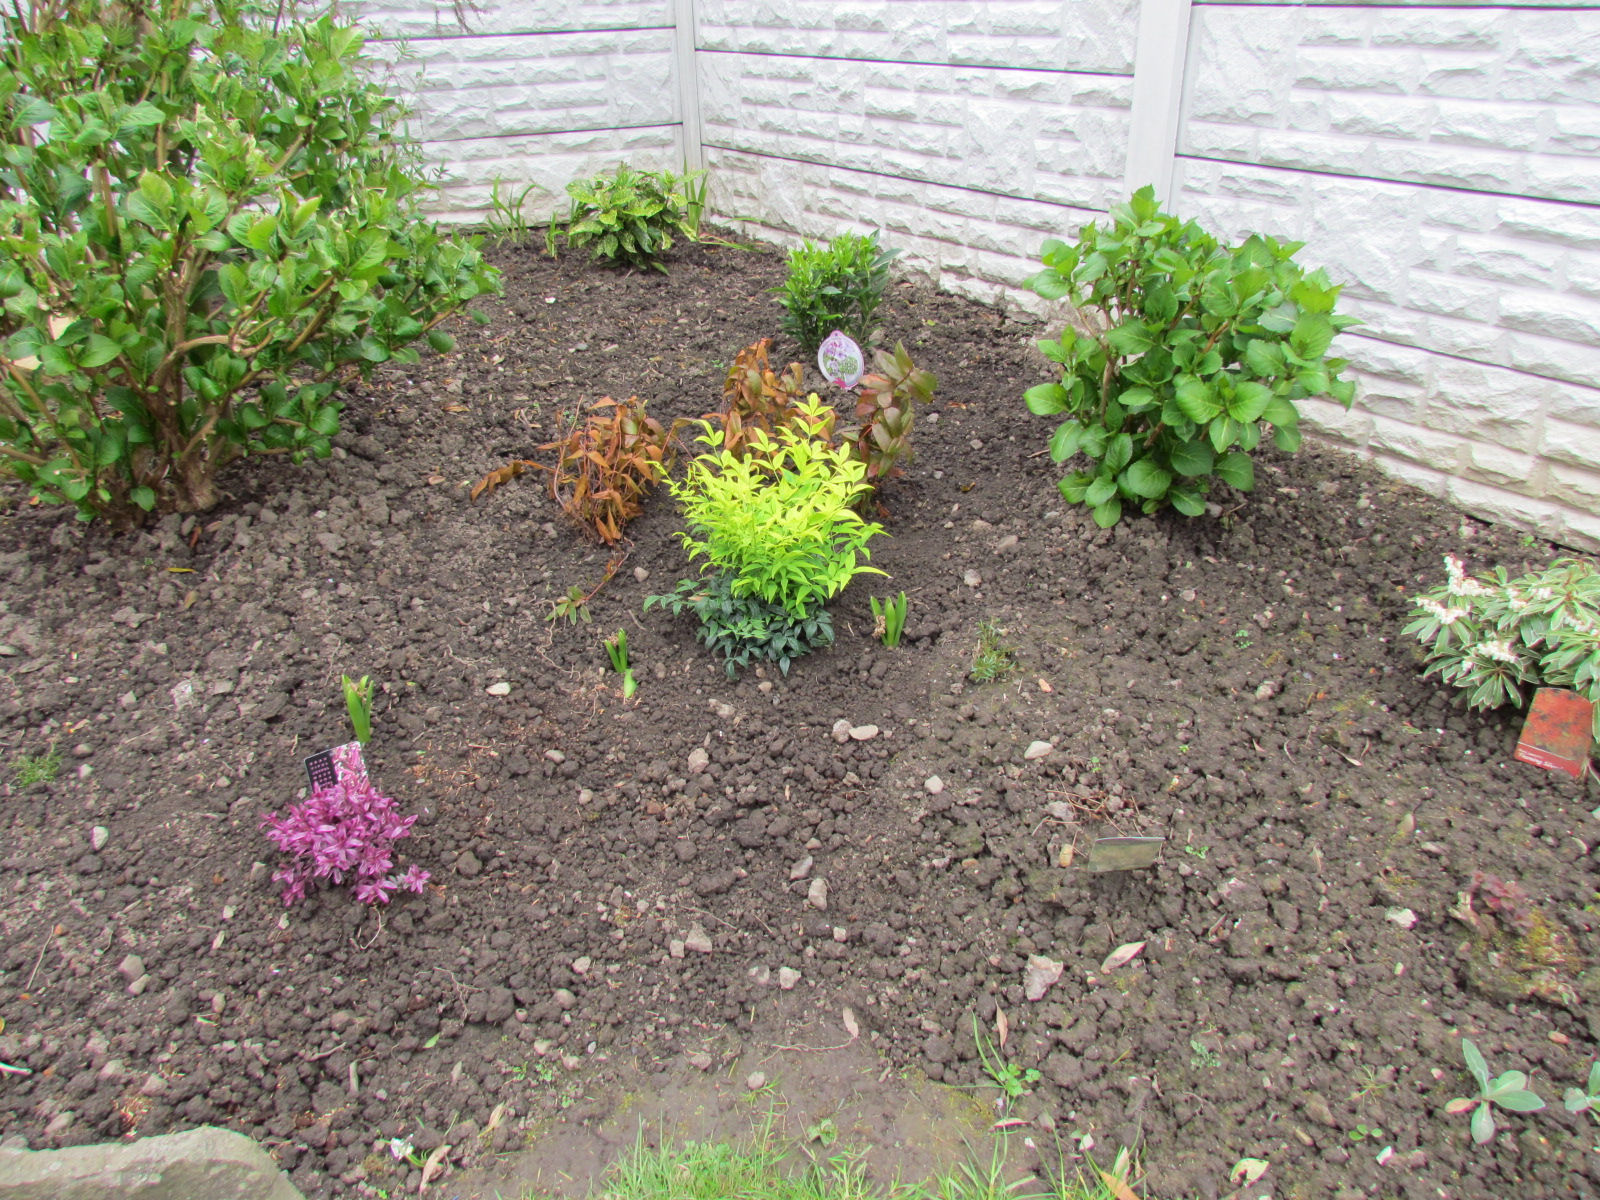
the right side top border with new shrubs and a few hyacinths past flowering indoors
in their new home, a few more things to fill this methinks. We are not sure if the hypericum has died on replanting or will come. The Nandina was placed there just in case, it may be wanting a new home if they come.
 
the right side of the garden with the new narrower border, again all new plants, except the pittosporum, the tulips have been lovely this year.
 
the patio border with another show of tulips and the rose with lots of new grow.
 
Beautiful Camelia
 
A start to the Cherry Blossom Tree, I hope the rest of the tree waits until 
this frost and chill wind is over before it comes out.
 
beautiful Rosemary flowers
 
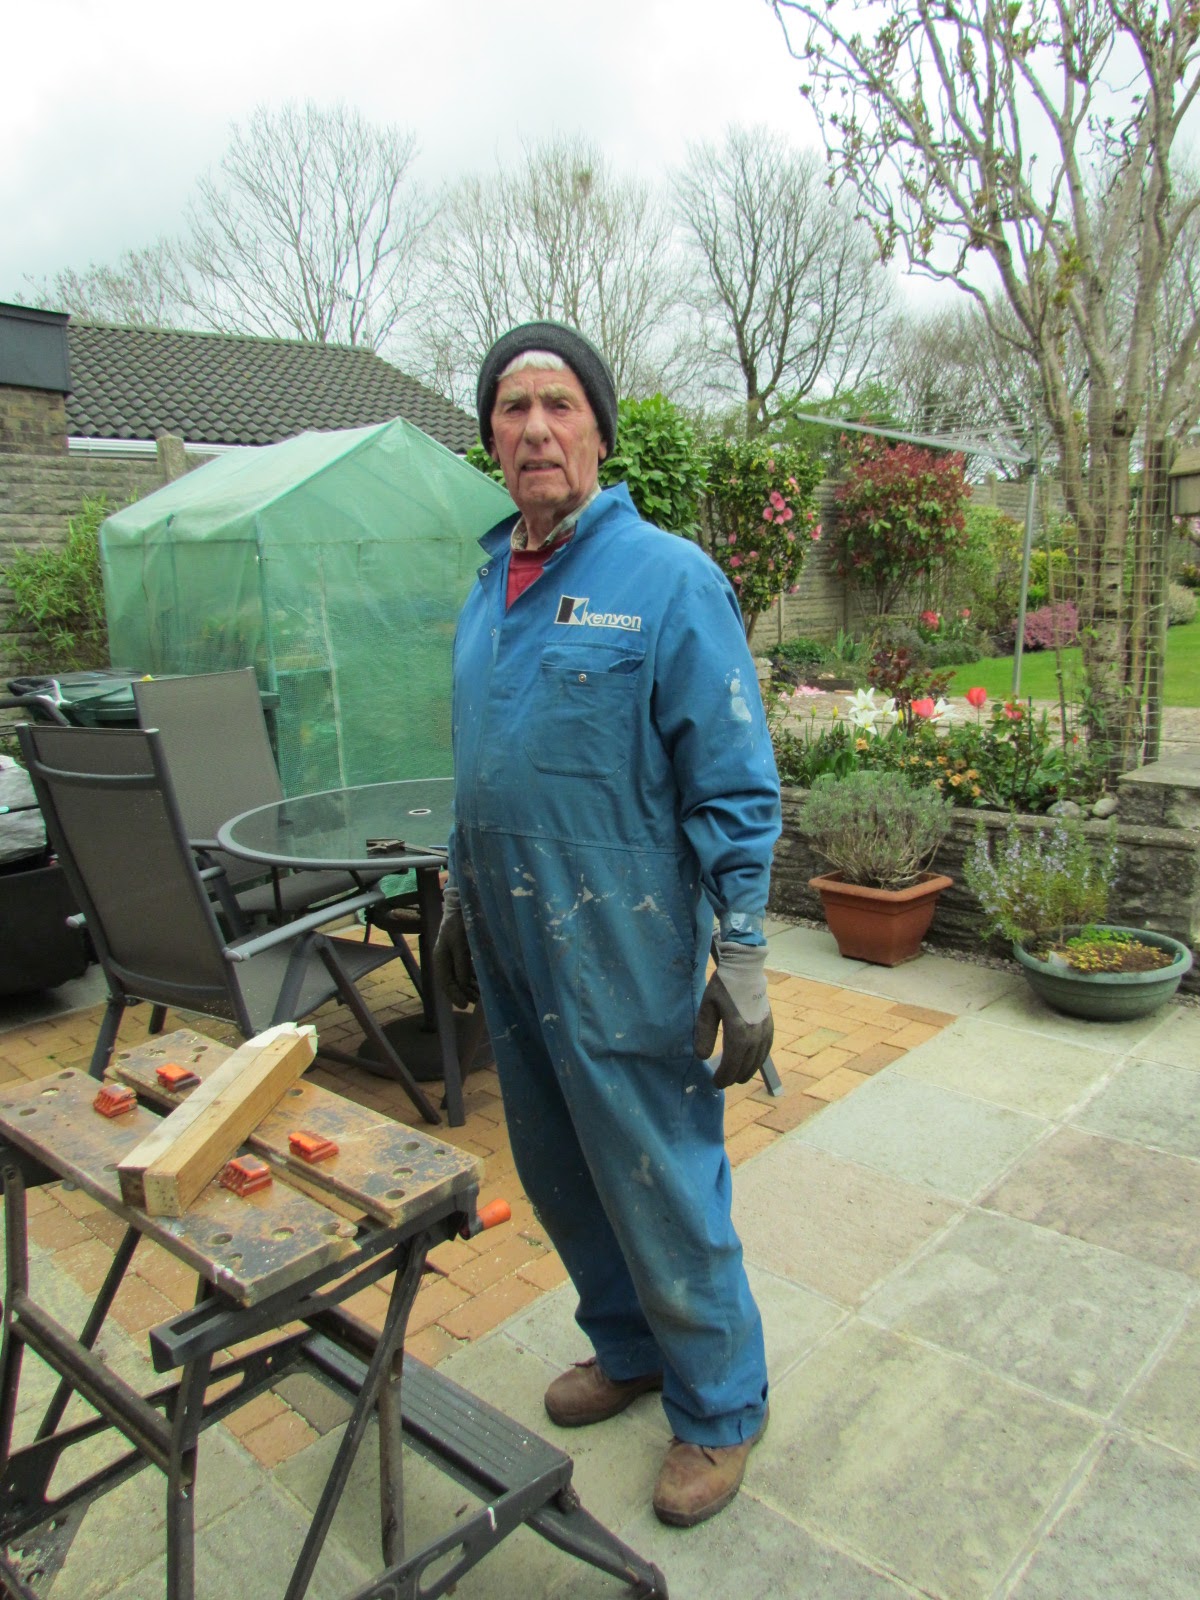
This is my HERO! 
who works very hard to keep the garden looking so neat.
He's wrapped in lots of layers to keep the really cold wind out, 
while he cuts the wood edging to the path. The overalls are years and years old, he has 3 new ones indoors, but won't change it! I threaten to cut it so he can't use it again. hahaha


08 February 2021

Giraffe

Hi Everyone, my card today was for my sassy Great Great Niece who was 2 years old a few days ago. I love these giraffes that I have had for years, I print and cut a couple of layers and the "2" with the Cameo and added them to the card as 3D layers. The butterfly was also done with a couple of layers added to the card and then I drew the antennae. 

I added sparkle on the edge, between the background layers. A few flowers and butterflies were die cut and added with a "few" gems on top of them. After I had added them, I thought should I have? maybe little fingers after them! However I know her parents will make sure she is safe and doesn't fiddle! It's a simply made card, and I hope she liked it?

giraffes and butterfly - Laurie Furnell
butterflies and flowers - Tattered Lace


02 September 2020

Travel TMR #142

Hi Everyone our challenge today is to do with travel and as it hasn't been possible to do much of it this year for all the obvious reasons!  I think a dream travel will do for me, so I'm off to somewhere that is green today!

I have had this image a long while and bought him when the designer was closing down. I love the "bumptious" image. With the theme as Travel, he had to be used. I used the embossing folder in my subscription magazine, for the background. I found the tent in my files, (he's off glamping), the suitcase I made in Silhouette, so simple, it took about 4 rectangles to make it. I found the fabulous sentiment online, it's a quote by W. C Fields. 

I really wanted to try and brayer the EF, but I didn't have a brayer, so I asked hubby if he had one in his tools - Yep! a wallpaper roller, which we used to press the edges of wallpaper when hanging the pieces - so many years ago. It's only one and half inches, but cleaned up, it worked a treat, especially as my inks are only the one inch size. Hubby saved me a few pounds there! 

Safari Guy - Kenny K digital stamp
coloured with Distress inks
embossing folder - Simply Cards & Papercraft #205
coloured with Distress inks
tent - Digilicious
case - my own in Silhouette
cut out of kraft card and inked.
sentiment - W.C. Fields

This is the insert
tag image - Wishing Well Creations
leaves - Pixelscrapper blog train 2018
sentiment - web


I hope to see you over at 

11 August 2020

Bad Mother!

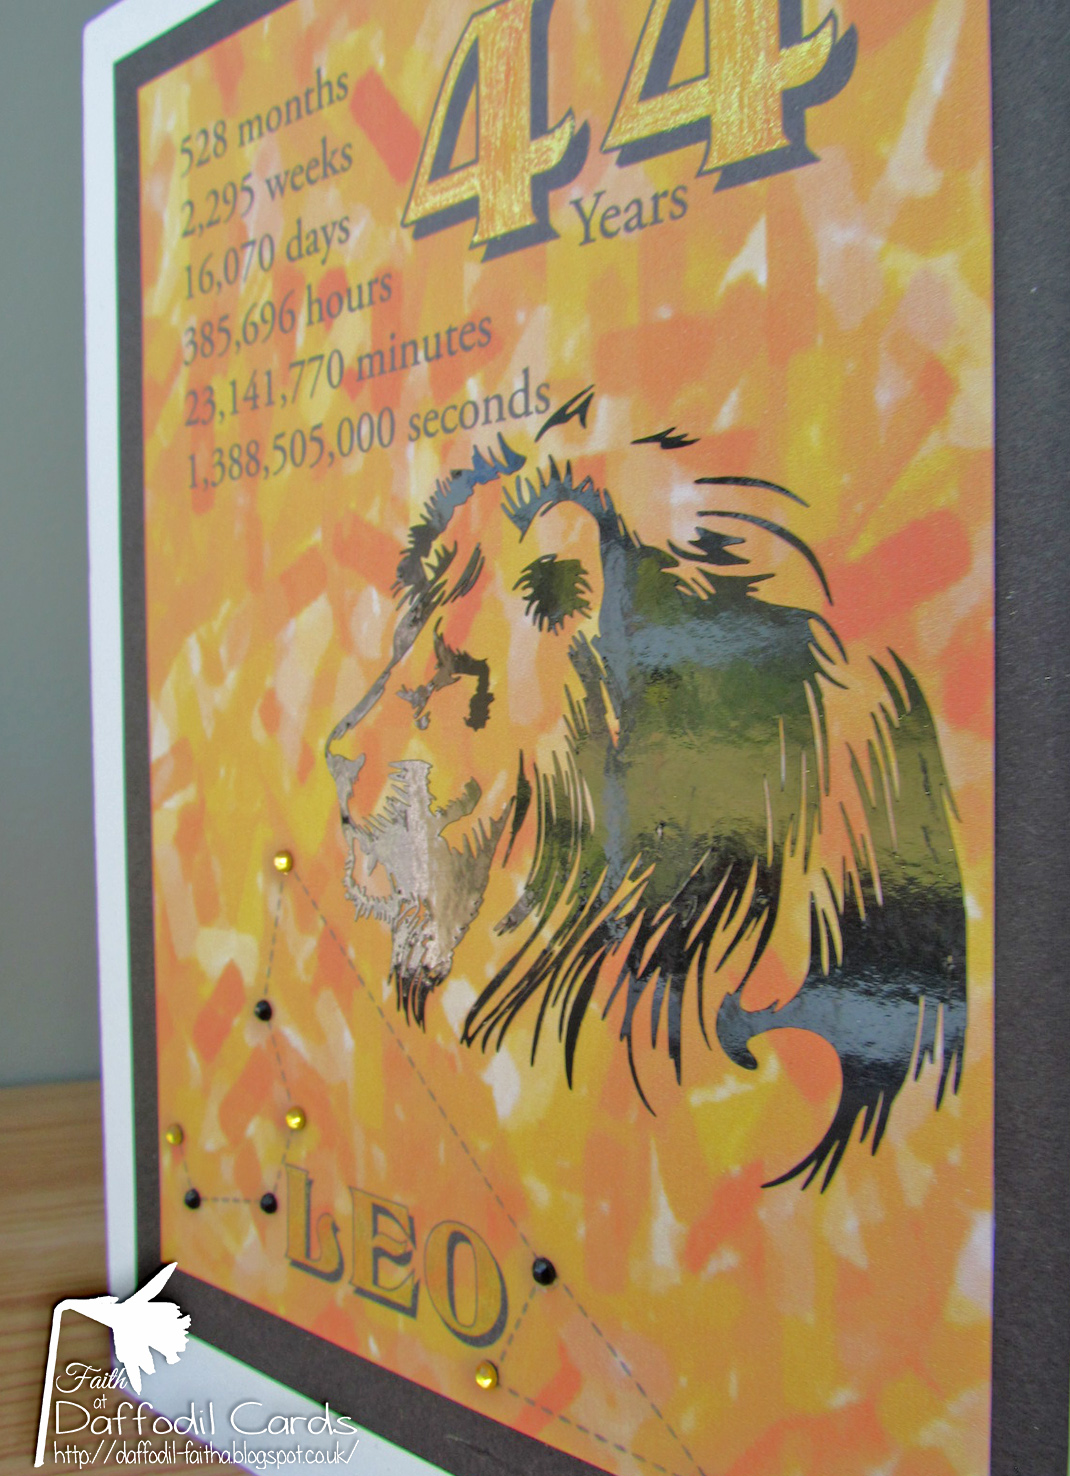
 Hi Everyone, It's my Son's birthday today and he hates being reminded he is getting older. However I have to keep reminding him and will, as long as he objects. 

I confess I am a Bad Mother.

I usually like to use a lion on his birthday card, as he is a true Leo of his star sign, he loves "Space", so an addition of the Leo star sign was added with gems. For my badness, I added his age, as I do most years! However this year I also added the time to the second! I had seen it on the web and who couldn't use it? Not me. 

I added a great paper which I felt was artistic and represented the heat of Africa. I had this majestic lion in my files, I think he has a kind and intelligent face, so I added it to my Cameo and cut it out in vinyl, I've added how tiny some of the pieces were, I had to remove to make the shape of the head, I even used a magnifying glass. I hope he won't be too angry with me (of course not LOL) He will raise his eyes up and say "Muuuum". I used a glitter pen to accentuate the age and the Leo. Quite a simple card, because he doesn't keep them around long, except one I framed HERE which he still has in his room here at home. 

paper - Gina K Designs digital Paper

Lion head - free vector files

age words - web

star sign - scrumptiously celestial constellations @ Pixelscrapper

font for age and Leo - Titania Shadow

I don't know why these items are so far apart, I can't get them closer no matter what I do - strange!


this shows the shine of the vinyl and the glitter pen

here are some of the pieces I needed a magnifying glass for, 
it's incredible how small the pieces are that the Cameo cuts.
Don't look at the wrinkly thumb, LOL


05 August 2020

Our Birthday TMR #141

Hi Everyone it's our 7th birthday and our challenge for this month is 
Yep! you've guessed it - Birthday 

Jane our fab Admin lady has added this to the challenge.

We're thrilled to be able to offer two awesome prizes to help get this party started. 

Sarah from Funky Fossil has very generously offered a £25.00 credit to her store for the first randomly drawn winner. 

And I'm offering a £15.00 credit to Funky Fossil's store for the second randomly drawn winner.

Two chances to win, how awesome is that?!! All you need to do is create a masculine birthday card and link it up to our gallery to be in with a chance to win.


A nice easy challenge for everyone, we all have a man in our lives whose birthday is in the next few months? I made this for our next door neighbour who is lawn mad, he also enjoys a chuckle, so I hope he enjoys this. He better had, I used the last piece of this particular paper with only pieces left of the pad boo hoo. It was for a good cause though!

card design - Silhouette Design Store ID #291996 Jamie Lane Designs
I made it bigger following this video Mixed Up Craft
paper - Craft Sensations
lawn - Dovecraft card
mirror card - The Range
sparkle pen - Spectrum Noir


Allsorts Challenge men mow lawns - yep!

C.R.A.F.T Challenge mowing the lawn is leisure - right?

22 March 2018

Pig Out

Hi Everyone, I made a card for a Nephew in Law, BUT, I lost the card I made, (this one) and had to find one I had already done to get it into the post, 2 days later I moved a magazine and there it was - grrrr! LOL, at least the one he got I liked anyway and it was suitable. However there is always another Nephew in Law or male in the family to send a card, and this will go to - Yep! another nephew (in law) LOL
image Elizabeth Dulemba
coloured in PS, it has more colour than shown here
papers Tina Shaw @ Pixelscrapper
blue houndstooth paper embossed with Houndstooth embossing folder and Dovecrafts ink rubbed over it. 
circle die - Tattered Lace pindot die

31 October 2017

Spectacular day?

Hi Everyone, my card today is one I made just for the fun of it, but with so many men in the family I'm sure it will come in useful. I cut the specs, and labels with the Cameo, the background was done making a "whitewash" edge and adding some coloured stencil "paste" onto the background, this was done in Photoshop, I'm not clever enough to do it otherwise. All layered and 3D onto the card.
dp, specs, labels - collaboration of designers from Pixelscrapper
sentiment I saw on the web.

25 February 2016

Chalkboard effect card


Hi Everyone, something a little different for me, I wanted to enter a challenge with a chalkboard theme. A simple card but I really like the effect.

The paper was a freebie, I added plain shapes in PS and then used a pattern overlay to add texture. I used a tag shape and "clipped" the chalk paper to it, then added chalk effect images and made the great sentiment from Create with TLC into a chalk effect too. I used embroidery thread that I have had for aeons then printed all out and layered. Quite a few designers help was used on this.

I didn't know what to do with the chalk effect and went for info on the web, I loved this card so used it for inspiration.


Big-day-chalk-ink-colorbox-stampin-up-sale-a-bration-birthday-card
from here
Sentiment Create with TLC.
Digi paper Jadyday at Sweeteshop Designs
Tag Chalkboard paper Sheila Reid at Pixelscrapper
Heart Pixelberrypie
Butterfly Kimberkatte freebie
Bird SLSlines 


16 February 2016

Birthday cake!

Hi Everyone, a birthday cake for you today? well it's inside the card LOL.  All laid out in PS as usual following the sketch. I did a print and cut on the Cameo, so made in no time with everything from one digi kit.


This is the inside, laid out ready for printing.


All papers and images from Paper Garden Projects Birthday Bundle.

Outlawz sketch Challenge.

http://fairytale-challengeblog.blogspot.co.uk/2016/02/challenge-140-ballons.html Balloons

14 February 2016

Moustache

Hi Everyone, my card today is for my Niece's husband, I think I have used all his hobbies and as he is a musician also music over the years. SO I decided to go very different, I was looking for inspiration on the web when I came across the sentiment, I have lots of moustache papers and images, so decided to go with that, although he is clean shaven without a moustache!! The cake is another matter, he does like cake, so do I, so it's a question I would ask him, does this make sense?

Anyhow, the sketch was laid out in PS as usual, I added a Grungy PS Action to the background paper, then added more of the same type in similar colours, made a sentiment strip and coloured the moustache to match. Printed them all out, cut and layered them onto cream card. The moustache I thought was a little plain so I added white gel pen. The background paper, I embossed with another new embossing folder. You can see it plainer in the smaller photo.


Papers by Pink Petticoat
Moustache by Digi Dewi
Embossing folder Modern Stripe by Teresa Collins 


13 February 2016

Birthday Girl

Hi Everyone, this image is the FB Progressive freebie from Art by Miran. I used this sketch to help me, however I had printed and coloured with my SN before deciding on the sketch, so had to adapt it a little. I embossed the card then went around the card with a SN marker in lilac and yellow, I layered the image with gold paper, added a birthday die I bought recently, and glittered and added a gem to it. I was going to copy some colour suggestions, but just went with what I thought and matched the paper to it. I somehow think it works?


Image Art by Miran
Birthday Die Tonic
Embossing folder Cuttlebug Swirl