Showing posts with label Creativefabrica. Show all posts

01 July 2026

Lion King CCC

  Hi Everyone, my DT make today is for -

Critter Crazy #112

Whether Furry, Feathered, Fantasy, Fairytale, 
Scaly, or Insect, there must be a critter.
 
 
I was going through my birthday card list and saw I had to make one for our neighbour. He has been an absolute gem for me since my loss, mowing my front lawn and putting out and getting in my rubbish/garbage bins. 
 
I chose this lion as my neighbour is a Leo, I printed a base for him with the title. I stamped him onto the printed title piece and proceeded to colour him with DI's, I also added some sky and grass, now what do I do?
 
I then thought, he's the king of the jungle, so I went and had a search of paper and digi paper to suit with a crown on it, nope, couldn't find any. So into Photoshop and made my own pattern, with an image I had on file. I printed it out, my brain in slow motion, now what, then I remembered I had an cut file with crowns on it. It wasn't enough for me, so I added a Leo sign and word, then attached them to the crown and text. I cut it out twice with red pearlised paper then backed it with a die cut circle of gold card. 
 
I backed the crown paper and the lion, with red card and then placed them onto the base card. Done, what a struggle. I hope he likes it. 
Lion - Stamp Addicts
inks - Distress Inks
crown image - Creative Market
happy birthday crown/text -  Creativefabrica
gold card - stash 
 Silhouette
Photoshop 
 
 
What critter are you going to make? 
I hope to see you in the Challenge. 

24 February 2024

Daffodil birthday & garden

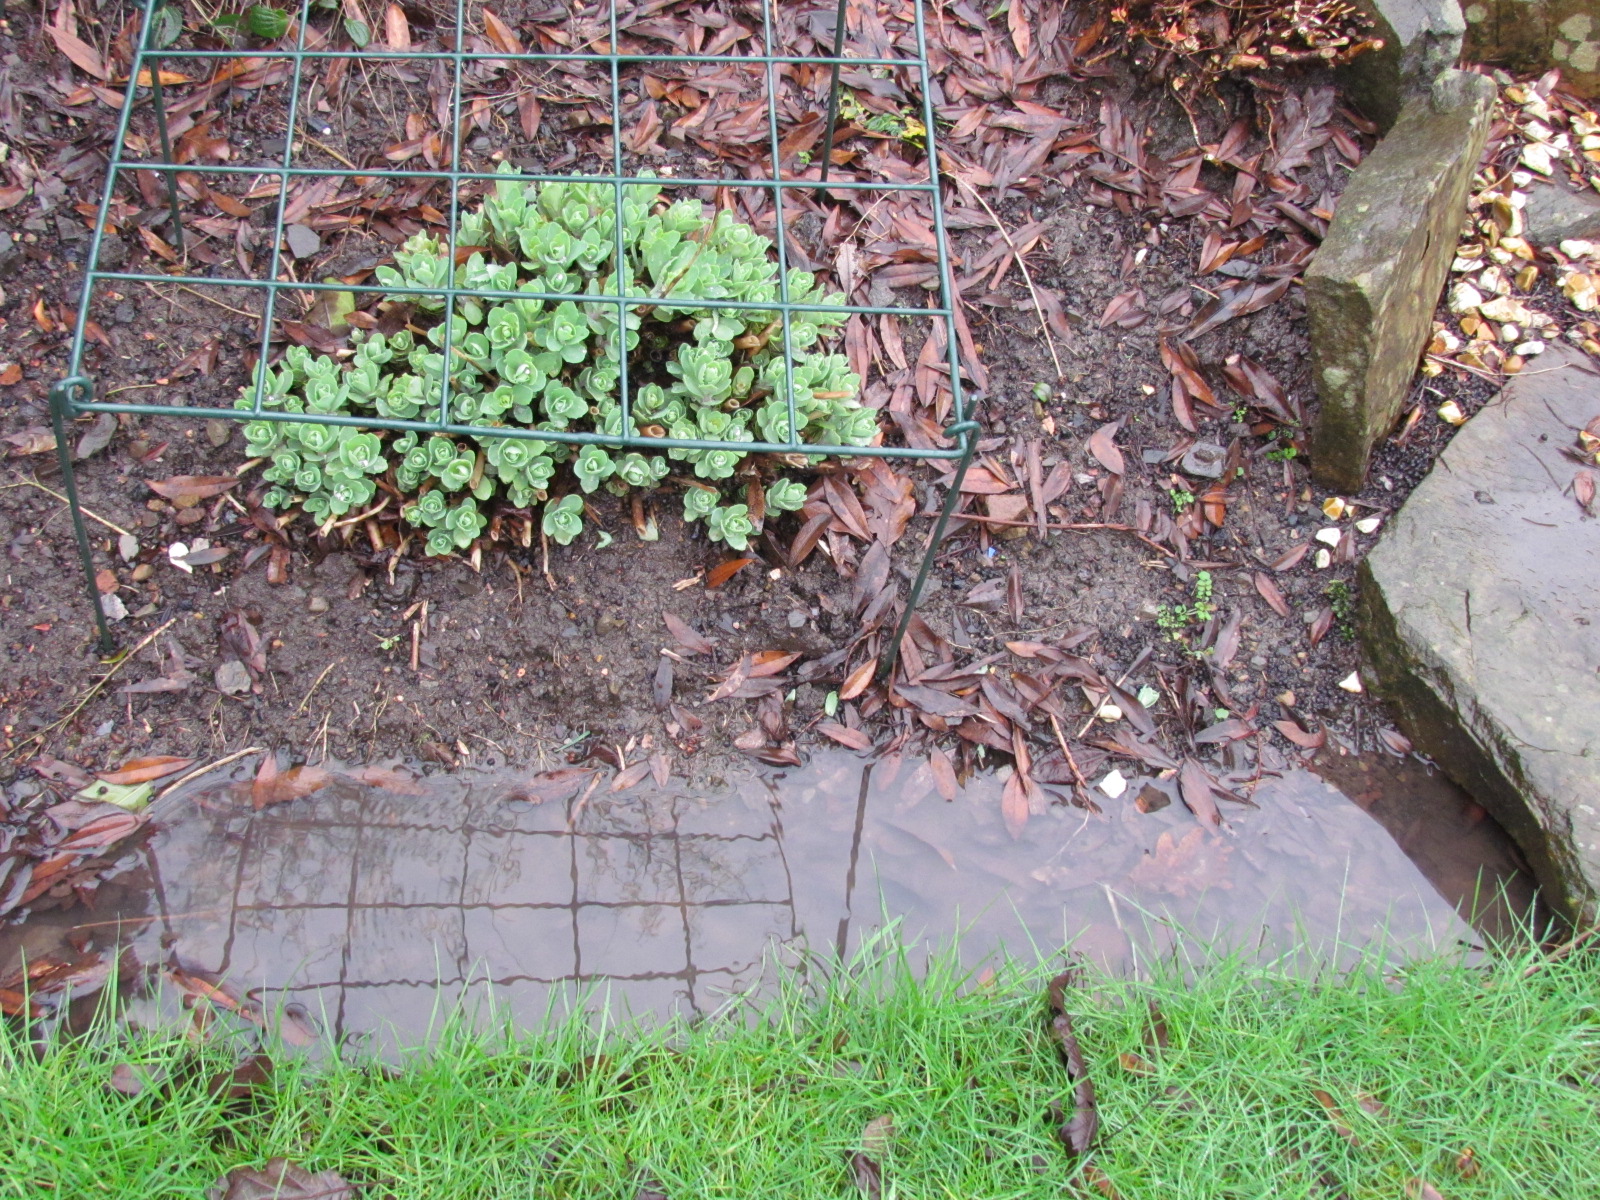
Hello everyone, what a week we have had, no I'll correct that, what weeks we have had, just 2 days dry in the last 2 weeks, it's been rain and more rain, it seems for months. I wonder if we will have a dry summer? Look out, you have been warned quite a few photos to follow.

The garden it is sodden, even just stepping on it feels like a bog. As for the lawn, I think we will have to scythe it to begin with, it's so high. Now's your time to flick to my card 😉

a 2 inch deep puddle on the patio after a morning of rain.

sodden garden but the pink Hellebore doesn't mind, it's by the wall!
Crocus, lashed by the rain
White Hellebore
a lonely Hyacinth
the water is like this all around the lawn
Bergenia shiny with the rain
white heather doing well
pink Heather also doing well
Daphne, a new shrub, not sure if it's happy where it is
a good show of Camellia
Crocus and Tete a Tete daffodils

It's not even March, and we have wonderful bright and sunny daffodils in the front garden, with lots of other blooms too. I am posting a daffodil card! I have a friend who has been through a lot with her husband being ill, so I thought a sunny card is needed for her birthday. 

Anyhow, I had the daffodil wreath in my files, I print and cut it out twice with my silhouette, glued it together and attached it to the base card. Next I stamped and die cut a sentiment. The main daffodils and leaves were then die cut, out of coloured card, and attached to the wreath.

daffodil wreath - Creativefabrica
daffodil dies - Altenew Mag freebie at SCP
daffodil colour card - printed from Altenew bonus buy, at Simply Cards and Paper craft. 
sentiment die - Card Making Magic 
sentiment stamp - Magazine freebie 
Silhouette Cameo

 insert - images Creativefabrica
 
 
I hope you've had more sun than us, thank goodness for the Daffodils.

01 February 2024

Penguin birthday CCC

    Hi Everyone, my DT cards today is for -

Critter Crazy

Whether Furry, Feathered, Fantasy, Fairytale, 
Scaly, or Insect, there must be a critter.
 
My Great Niece has a birthday this month, so I made this for her. I designed it in my Silhouette program, then cut out the main sentiment layer once, the adorable penguin was cut out three times, and the sentiment and scarf twice.
 
I then ripped some paper and using it as a mask, inked a snow base for the penguin, with DO's. The penguin was layered on top with the sentiment as if he was holding it? That's what I hoped.
 
I penned around the main layer, a little slip, meant I had to add more ink around the corners. I think I can get away with it. I then added glaze to the penguin's nose and eyes and sparkle pen to the scarf. 
 penguin - CreativeFabrica
scarf - Jendigitalart
Silhouette Cameo
 inks - Distress Oxide, speckled egg, tumbled glass

23 January 2022

Retro Elegance?

 Hello Everyone, what a week we have had! We decorated our bedroom before our new bed came, then Hubby found a water leak under the fridge, which thankfully had gone backwards into the wall and into a cupboard, not into the kitchen, although it had gone under the hall tiles and they were ruined and had to come up. Again thankfully, they were the original tiles when the house was built and were under our main flooring. However it meant the flooring up and newspaper on the floor for days, to soak up any excess water. The cupboard floor was in a much worse state, so that will take a time to dry! All "stuff" from there now resides in my craft room! 

Then, we had a new bed ordered, it came, but the base was damaged and now we have to wait for another. We are waiting for a carpet to be fitted, but the fitter is on holiday. To say we are in a mess is an understatement. OH! well it could have been so much worse, we thought at first the leak meant we would have to dig up the floor in the hall, until hubby found the leak in the kitchen! The plumber fixed it in no time, although it had been leaking for a long while, considering the cupboard.

I have a wonderful Guardian Angel, she gives me different things to think about sometimes. Then says OK, it won't be as bad as you think. Bless her, yep! she is a she! Although it could be someone like Clarence (in the film A Wonderful Life). 

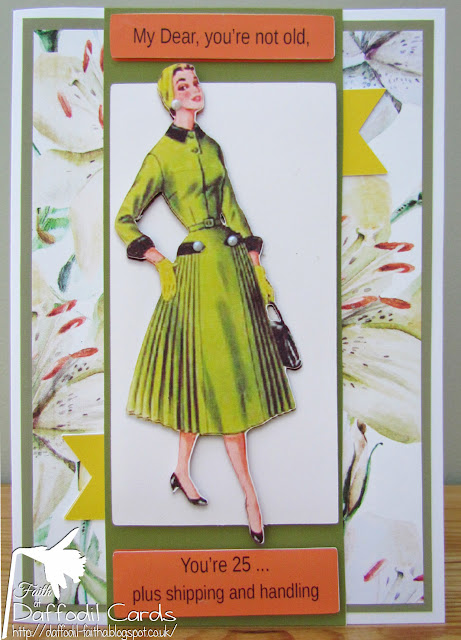
Anyhow, my card is one I forgot to post, it was for my lovely SiL. I thought it suited her.  It was her ahem! 81st birthday card! She, like me would remember this fashion. I have had this image since 2012 and haven't got a clue from where, so if anyone knows, I can update the info here. 

image - web?
tiny pearls - stash
background paper - Creative Fabrika
shaped centre designed in Photoshop and printed
sentiment - computer generated and cut out to fit
banner shape - fussy cut

That's me for today, thank you all for your lovely comments on all my posts, I really do appreciate each and everyone..


01 December 2021

Penguin 2CCC

      Hi Everyone, I have 3 DT cards today, this is for -

our new named blog
 

although the rules are slightly different, we still have the same challenge

Anything Goes but they MUST feature a critter as the main focus

Whether Furry, Feathered, Fantasy, Fairytale, 
Scaly, or Insect, there must be a critter...

I have tried to do mostly one layer cards for Christmas this year, last year I was charged to much for the post! My cheapskate part of me took over! 

My card is using the cutest penguin, I added the lights to him digitally and deleted part, so it looks like they are behind his head and I had him stand on an ice cube. I added a background that has pale snowflakes in the image then added the sentiment. I printed it, then added clear glaze to the lights, his eyes and beak and some snowflake dies from mirror card. I didn't want to add another layer under it, so I went around the edge with a glue pen and added silver glitter. A nice light-ish card for posting.
penguin - Creative Fabrica
lights - LouCee Creations
background - SnickerDoodles
ice - Amanda Creations
snowflake dies - unknown
glue pen - Quickie Glue pen
glitter & clear Glaze - Nuvo
Mirror card - The Range


Hopefully you can see the shine on the lights and the face here.

Ellibelle's Crafty Wednesday


27 November 2021

Spaceman

 Hi Everyone, I hope you're all up to date with Christmas preparations? Am I - Nope! We'll get there won't we as we usually do.

The weather was so awful last night, I hope you were all safe, we felt like we were trying to sleep in the middle of an airport runway, it really was so bad. Luckily no damage around here. We have sun and very cold temperatures, with the wind still quite high, making it feel colder.

Anyhow, here is my card for today, it was for my GGNephew who was 2 last week. He really is a little darling, although, as they live 6 hours away, we still haven't met him, with Covid etc, except by WhatsApp. 

 I didn't know what to do, so I went through my files, as I usually do and found these beautiful images. All into my die cutting machine to cut out, I glued all layers of the images together, as I had cut at least 2 of each, the spaceman I had reversed one image so that he could be seen from the back of the card too. I then added clear glaze to his helmet, the spaceship and the eyes of the earth. I hung the spaceship on acetate so it was "flying! the spaceman was on 3D stickers so he looked off the page also. The stars were then added to the navy coloured card background. I have to say I was pleased with the end result. 

Spaceman images - CreativeFabrica  
this is an affiliate link, no charge to you, but 
these images and others in the kit are $0.50 today only
card rocker base cut design - My ScrapChick 
sentiment - web
glaze - Nuvo Crystal Glaze
Silhouette Cameo


this is the handsome little chap taken at his Nursery

I need to thank you all for your visits, I really love to see your comments and appreciate them all a great deal. Have a great weekend.


23 November 2021

Happy Birthday masculine card?

Hi Everyone, I'm still rushed off my feet with one thing and another, yesterday I managed to do 42 inserts today for 6x6 and 5x7, designed, printed and cut to size and inserted into cards, well chuffed with myself. I got those out of the way, all Christmas cards are now finished. Whoop whoop!

I'm hoping to at least start writing the cards tonight and finish tomorrow, then concentrate on presents that haven't even entered my mind yet! I'm so late this year. Can anyone lend me some time? 

Anyhow, I made this for one of our God Son's, they get to the adult age of what the heck do I do, he has no hobbies to speak of, so I went plain and simple! Using my die cutting machine to cut the card out of  black card. I printed paper and placed it behind the words then stamped a small stamp onto the card in gold. Nice and simple and bright too, even though it is black card. He liked it, that's all I can ask for.
card - Silhouette Design Store ID #306564
dp - Creative Fabrica Hello Baby Paper Pack (affiliate link)
stamp - Magazine freebie 


24 July 2021

Leopard Girl

 Hi Everyone just a quick post. As I loved this image and as she is a freebie I thought you may want to have a peek at her yourselves. I'll be making something from her soon, getting my head in gear atm. Lots going on here.

https://www.creativefabrica.com/product/girl-planner-clipart-leopard-print/ref/1229291/


SO many free fonts or for a $1
Discount Deals

Hope to be back to normal in at least a couple of days.


Hope all OK with you all


Affiliate post (it means if you click on a link I may get commission).


17 July 2021

Pineapple

  *Disclosure: 

This post contains affiliate links to Creative Fabrica.
that at no additional cost to you, if you use these links or buy something.
 I may earn a small commission.  I only recommend products I would use myself.
 Read full privacy policy Here

Hi Everyone, I thought I would show you another card I did for the craft club ladies. I bought the Pineapple die for 24 pence in a sale. A great little die and that's how the card started. I cut it out of white card and coloured with marker pens, then cut the shapes in orange and green to back it. I glued the bottom half onto orange card and the top onto green and cut it around the pineapple. Some clear sparkle and it was just about done.

I had a cut file of specs, so cut 6 of them with the Silhouette and glazed the lens part. 

I used some pineapple paper from my files and cut it into 6, then cut 6 out of orange card to layer the paper. I made a banner shape and added the sentiment in Photoshop, I took the shape and sentiment to my Silhouette and cut 6 out, then cut 6 shadow layers. 

The ladies will glue and put all the paper layers together and die cut and colour the pineapple and add the sunglasses if they want. I hope this is a good way for them. We'll see, I'll let you know how it went.

Pineapple die - Dovecraft
sentiment - Create with TLC Creations
orange card - B&M


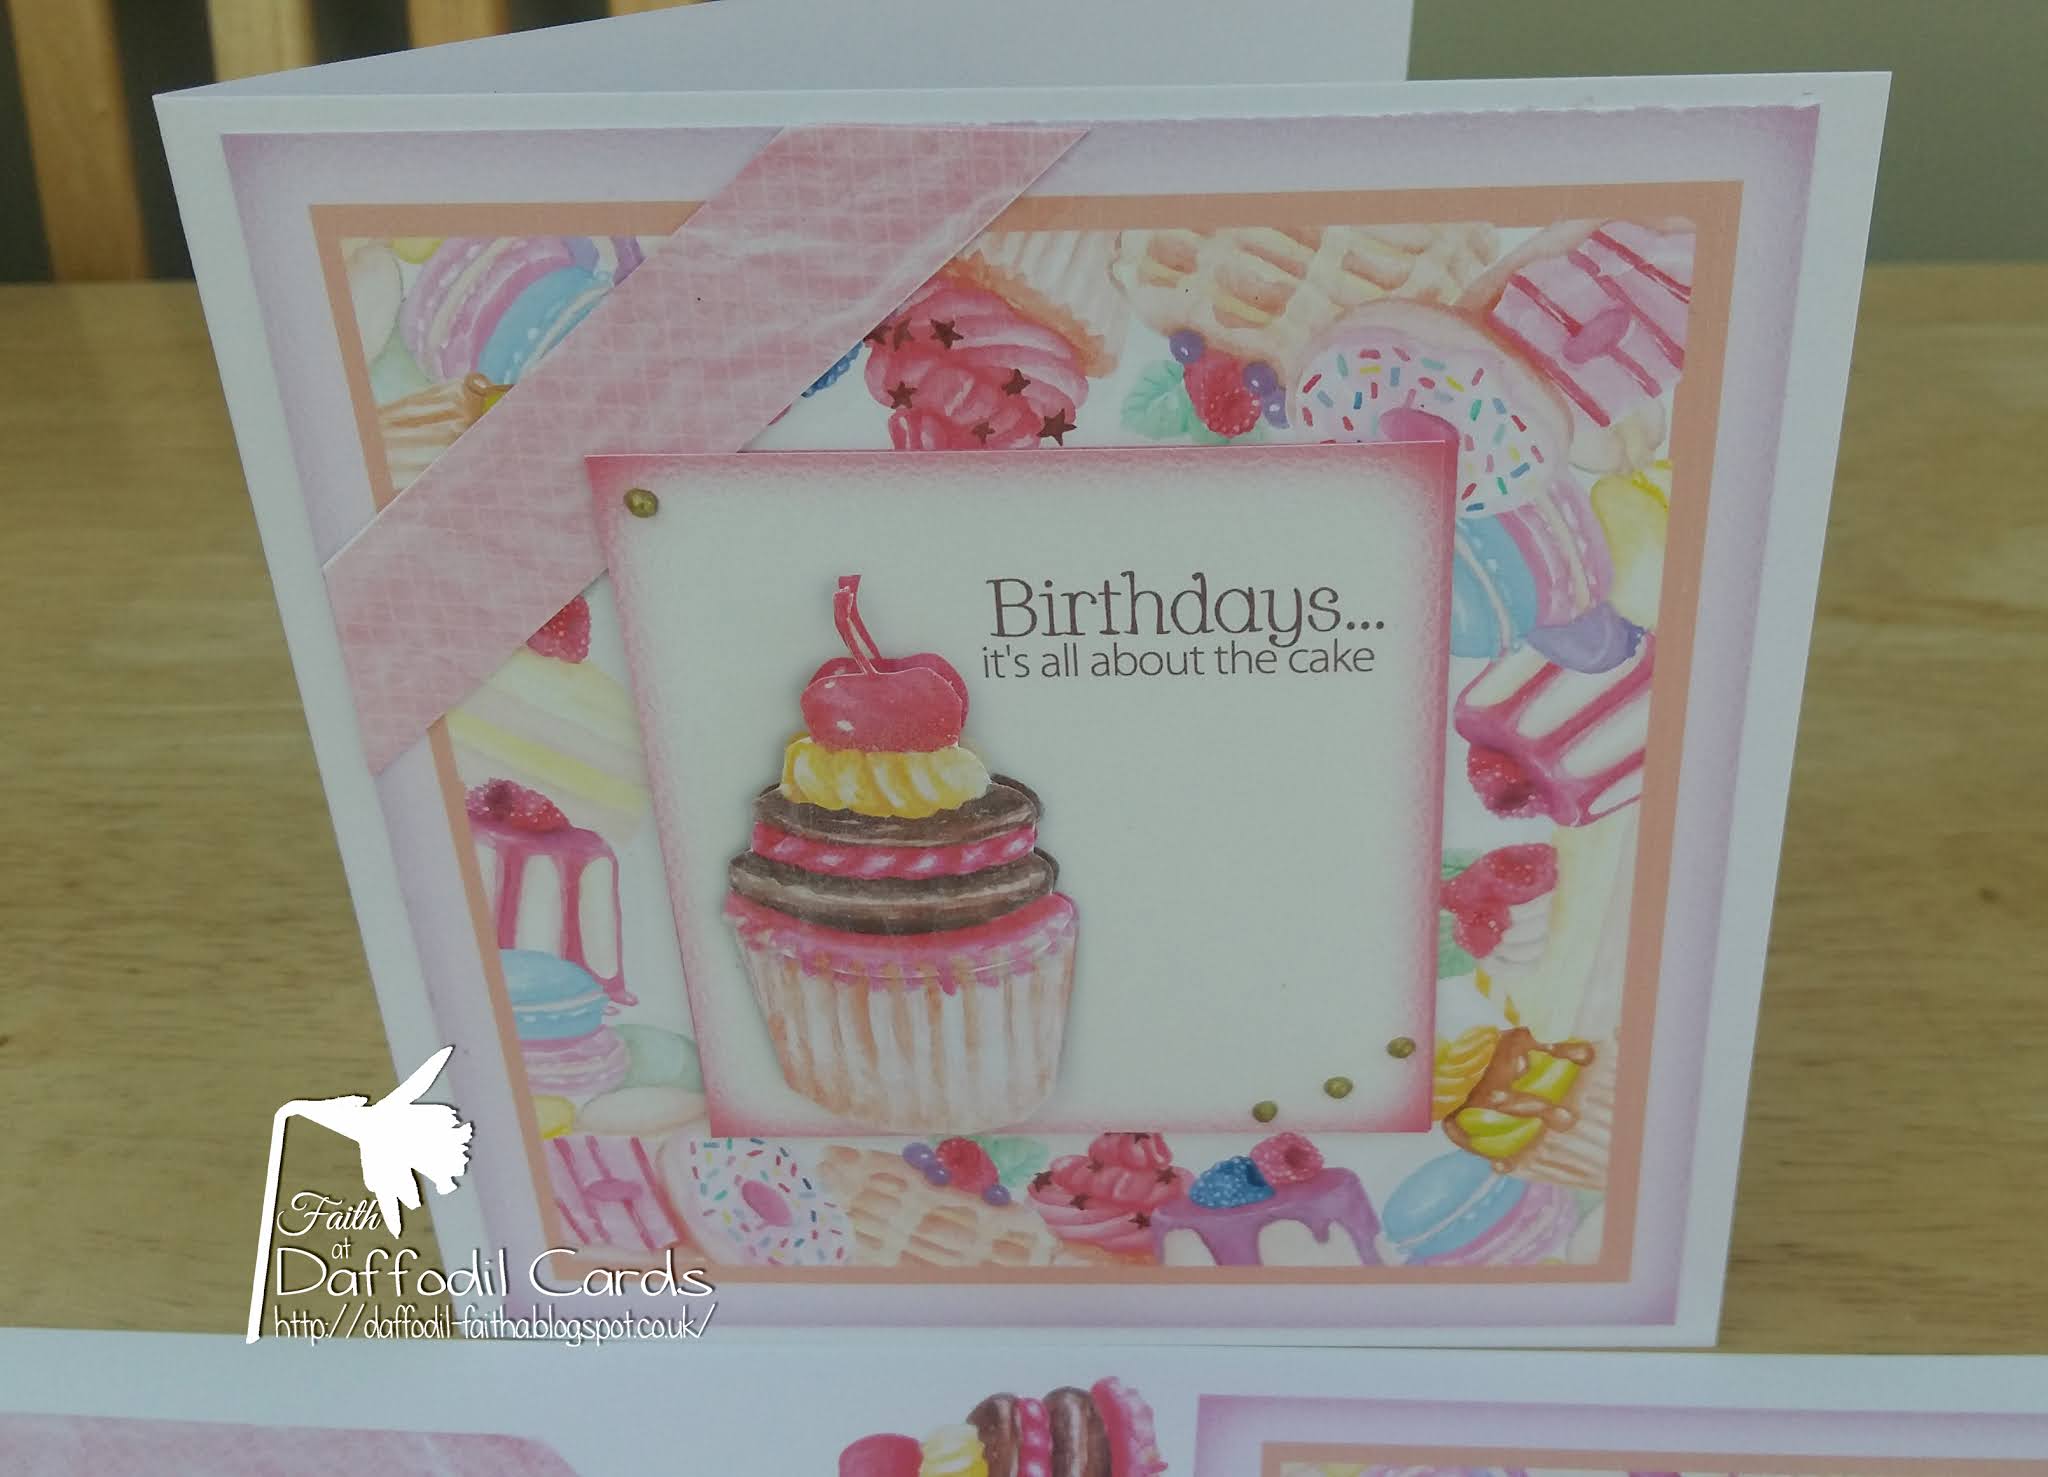
I also designed a card in Photoshop, printed it and the ladies can cut it out and decoupage.
 I kept it quite simple for them. This is it.

paper and cupcakes - Watercolor Clipart Dessert Cake 


this is the full layout, you are more than welcome to use it for yourself. 
If you do use it I would love to see what you did.
it's sized to an A4 and will make a 6 x 6 card, 
just copy and add to a landscape A4 size in any program you have.
 I hope it works for you.


There is a fabulous Christmas sale on for July, 
with lots of freebies and half price sale, follow this link to find out more

You can buy this subscription with a special offer on this page:
Instead of paying $29 per month, you will get the subscription plan 
for $1 for the first month and $19 for any renewals. 


EDIT - The class was Wednesday, I was watching the weather forecast in the night and I said to Hubby, they haven't shown Wednesday's weather, rewind to see it. He said it's Wednesday today! I had missed the class! I rang the lady and she said, I'm so glad I'm not the only one who does that. I felt so very bad. However she said only 3 were there and one of them is a digital card maker, print and fussy cut and add layers. So they were Ok.

Well I have lots for next week and the week after now.
Keep sane everyone, seems like I'm losing it!


03 July 2021

Lemon girl

*Disclosure: 
This post contains affiliate links to Creative Fabrica.
that at no additional cost to you, if you use these links to buy something.
 I may earn a small commission.  I only recommend products I would use myself.
 Read full privacy policy Here

Hi Everyone, A mixed media ish? card today with a few processes. I started off, designing it in Photoshop, I chose the sketch but didn't have paper to match for the rectangles, so I made some in PS, using the items, that I eventually placed on top of the matching paper. Then as I wanted to cut the items out, I added them to my digital cutting machine, so much easier than fussy cutting, for me anyway. I added glaze to the elements, I thought it made them look like stickers. 

I found a lemon in my cutting files, so used that as the background to the beautiful image. I had my subscription magazine recently and I used the stamps that were with that, heat embossing them and colouring them. Adding drops to finish. Sounds so simple doesn't it? It took me a fair few hours though.

image and elements - Lemon Girl Planner Creative Fabrica
inks - Distress Oxide & Ink
stamps - Magazine freebies SCPC #218
lemon cutting file - Lettering Delights
lemon card - Crafters Companion
white drops - Nuvo Crystal Drops


19 May 2021

Floral and scallops and something VERY different

 Hi Everyone, I hope you're all enjoying your new found freedom, BUT, carefully! 

This is a picture heavy post, just a warning. 😉

My card today was made as I needed something bright and this helped a lot. My blog friend Shirley, who is so generous with her files, gave this out as a freebie. and as it was so different and pretty, I decided to use it for the base of my card. 

I cut it out with my digital cutting machine and was going to just add the arrangement as a print and cut, which had been 3D'd layered, except I decided to add DI's to the card in the same colours, but went further and used a new stencil from my magazine with white ink through it.

 I went further and splashed some clear sparkle ink on to it all and even through the stencil again. I don't usually "play" like that, I thought maybe it would be a mess, but ended up quite liking it. I stamped the sentiment and added a gold circle to the back of the scalloped circle. I wanted more! the next step was to add a gold glitter pen to the flowers and leaves. 

For a playing around card it turned out OK. and I think suitable to send to someone I have in mind.

card cut file - Shirley's Cards
flower arrangement - CreativeFabrica
inks - Distress Inks
white ink - Brilliance Moonlight White
sparkle pen - Spectrum Noir
leaf stencil - Magazine freebie SC&P#217
sentiment - Mag freebie
gold glitter pen - Uniball

This photo shows actual colours and some of the centre scallops

this photo shows the gold mirror card 

After something pretty? Piccies from our garden. 
We had the tree surgeon in to take my beloved tree down and -

getting ready to cut

after the cut!


some of the remains

grinding the roots out

- he said you had better see who was living in the tree! This was he - 

we decided to add him to the garden and put him amongst pretty things. I may even get hubby to drill out the trunk and put a pot in it for him to have some hair!

I know he looks scary on the first look and someone said he looks like the "Elephant Man", but after having him looking at me for a few days, he's become quite a friend. Bless him.

Isn't Nature incredible to form something like this?

15 March 2021

Bouquet bear

 Hi Everyone here I am with my DT card for today, it's for the new challenge at QKR. Our challenge is on the 1st and 15th of every month, so you have 2 chances every month to enter the challenge.


We will select two winners each of the weeks 
1 using QKR Stampede  or Eureka Stamps image
 and 1 using any image!

Anything Goes every 1st & 15th of the month

My card today used a sketch, but the file I saved, to tell me what everything was, is mislaid! I'm usually careful where I save files, but this has gone walkabout! I had to go hunting to find out who's paper I had used. My lovely bear was print and cut 3 times for layering, with the digital cutting machine Cameo, I coloured the bear with Distress inks to match the paper I used. The sentiment was also print and cut and layered.  

Bear - Bouquet 
inks - Distress inks
papers - Creative Fabrica
black paper - stash
gold spots - Nuvo Crystal Drops


23 February 2021

Floral

 Hi Everyone, I've been missing in action, with lots keeping me busy behind the scenes. However I have done a little card making. My "local" SiL (the rest live in England) asked me if I would make 3 cards the same for friends of hers, all 85 years of age this year. I asked her what she wanted and she said flowers, so this was my interpretation of what she wanted. I'm glad to say she was pleased.


paper and wreath - CreativeFabrica
gilding flakes - Cosmic Shimmer 
glue pen - Sakura Quickie Glue Pen
gold mirror card - The Range
ribbon - stash
Glaze - Novo Crystal Drops
Silhouette Cameo 2

This was the process
I cut and print from Silhouette Cameo, 3 layers of the centre wreath, I went over the top layer with a glue pen on parts of the flowers. I then ventured to the gold leaf and pressed it into the glue. I should have put it into a container, lets say I was finding gold for a few days! Next I layered all the wreath layers and glued them together.

I printed the background layer and cut to size and added to gold mirror card and then to the base card. I added 3D gloss to the 85 for added shine. The wreath was added to the card and a bow placed on it.

here are the layers before attaching and adding the gilding flakes

adding the gilding flakes

here you can see the finished result of the glazed 85 and the result of the flakes

here you can see the layers, which I didn't 3D for the sake of postage costs, it was an 8x8 card, with 3D the cost would have been expensive shall we say. 

This was the insert


We had good news this week about nearing the end of lockdown, let's hope we can get to "normal life in the next few months. Although I don't see it becoming normal before the end of Summer - ever the optimist? 
In the meantime, keep safe and keep wearing your mask. Oh! yes over your nose too! - Please.